PE4 has a spot healing brush which I've never used until recently; professional photo editors probably use it to hide skin blemishes and spots. I've also found that it's helpful in covering up minor hotspots in flash photography. For instance, I used it in this shot from last night's art reception at Median Contemporary.
I left a few hotspots because I didn't want to overdo it, but I got rid of the worst ones.
There are bound to be a few people who think that I'm making this up, so I'm going to demonstrate my process using one of the photos from the Swarovski Crystal Wish Tree ceremony. Take note of the hotspot near the upper-left corner of the image below.

Here's a close-up of the hotspot in question at 100%.

Using the spot healing brush tool, I pick a brush size which is just large enough to cover the hotspot (but not too large). I also make sure that "proximity match" is selected before I make my fix.
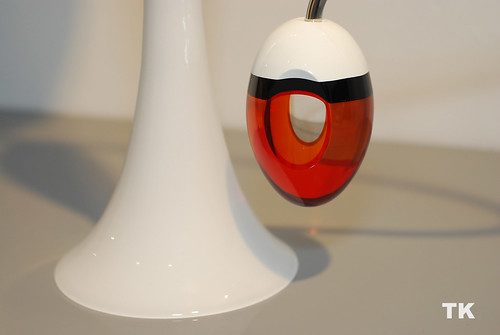
Here's how this close-up looks after the process.

It may not be obvious where the hotspot originally was, so here's the same photo with the location circled.

At this resolution, perhaps a trained eye can see what I did, even without the circle. Of course, the best way to avoid flash hotspots is by not using a flash. ;-)

No comments:
Post a Comment